Having a lazy gardening strategy is something that will suit those who want a beautiful, healthy landscape, but perhaps don’t have the time or the inclination. It’s not strictly for lazy people I hasten to add, but will suit those who perhaps have health or mobility issues that make traditional garden almost impossible. Those with knee and back problems might be interested.
Raised beds are the answer
Creating raised beds will surely go some way to ease difficult gardening, and those with less than perfect soil will benefit from the reduced effort of turning over, say, claggy clay soil. I love the idea of raised beds, as you can make the beds as high or low as suits you for growing a great display of flowers or your own personal range of favourite vegetables. And there really is no one right way to do it.
The lazy strategy
Firstly, mark out your space, and mark the lines of the bed. String and some sticks will do. Raised beds with curvy lines usually look more interesting than beds with straight lines, and this is totally up to you, but curves might make the edging a little more difficult. If you can ‘weed’ out the worst of the weeds, so much the better. Leave a good space between them if you create multiple beds to give yourself some space to work, especially if wheelchair access might be necessary. The beds should be laid out where they will receive the appropriate amount of sunlight for the plants you intend to grow, and you should consider the movement of the sun throughout the seasons. A south-facing garden position is best for most plants.
What Lies Below
The foundation of a raised garden bed plays several crucial roles in the health and efficiency of your garden, and its key is controlling the drainage. This is essential for plant health, as it prevents waterlogging, which could lead to root rot and other diseases. Materials like hardware cloth or landscape fabric allow excess water to drain away while keeping the soil in place, or go for the cheap option – a pile of biodegradable newspapers or flattened cardboard boxes. If you’re using cardboard, you need it to be one layer thick. For newspapers, you will have to layer them thicker. Wet down your material with a hose to soften it so it can begin composting and smothering any grass and weeds. Aim for about a centimetre of paper material thick or more once you’ve wet it down.
Add an edge
Use bricks, plastic edging from a roll, rocks, edging stones, concrete – your choice. Old railway sleepers are ideal if you can lay your hands on any, or rows of wood, and the height is up to you. Make sure the edging is on top of your paper material, and cut away any material that pokes out round the outside edges. For additional stability, you might like to add corner supports or braces on the inside or outside before you add the soil.
Add Soil
Add your soil next. You can use prepared compost or garden soil available in bags or have a truckload delivered if you need a lot. You will need to fill the bed to a minimum of 10cm depending on how high your edges are. Once you’ve added your soil, wet it well, and the icing on the cake would be a layer of mulch on top of the soil to further suppress weeds and retain moisture in the bed.
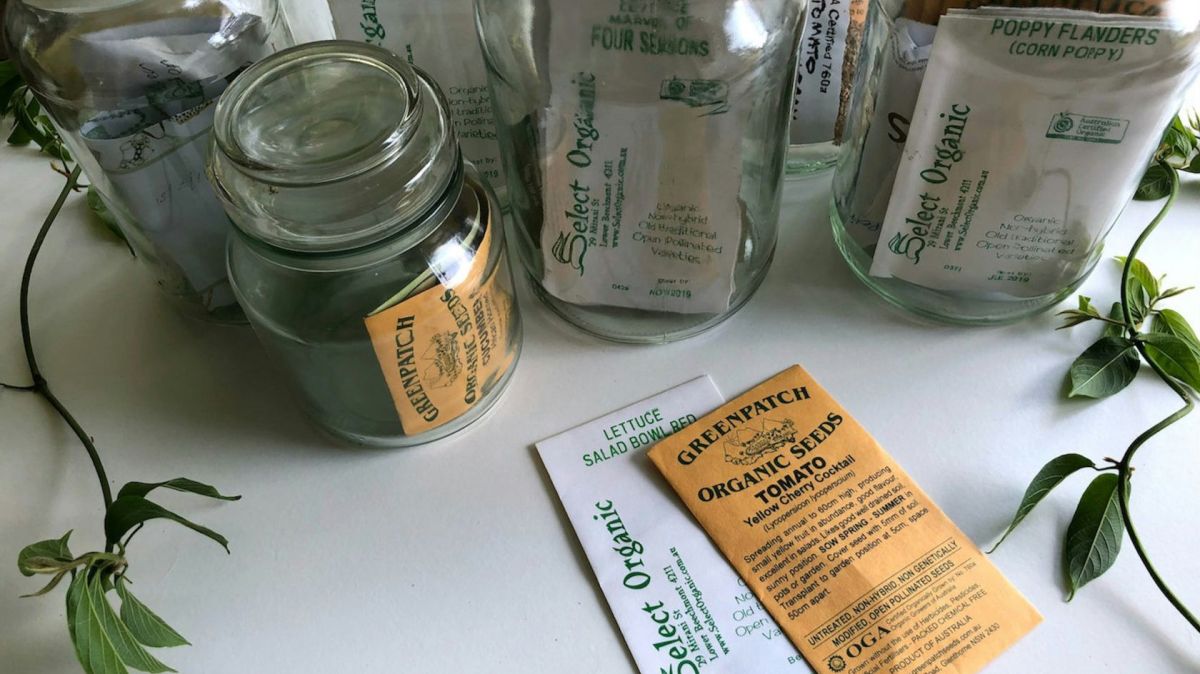
Add plants and seeds as required
The choice of plants is up to you, but remember to water well to encourage the breakdown of the card or paper if you go that route. Using paper is an easy, cost-effective method for anyone to create raised beds on a budget with minimal work. With the initial effort out of the way, you can enjoy the rewards of lazy gardening in the future without breaking too much of a sweat – or your back!
Marilyn writes regularly for The Portugal News, and has lived in the Algarve for some years. A dog-lover, she has lived in Ireland, UK, Bermuda and the Isle of Man.